

之前有说到ASP.NET Core Identity 使用的是基于Claim 的验证,其实ASP.NET Core Identity 有不同类型的授权方式,最简单的登录授权、角色授权、Claim 授权,但上述几种都是以一种方式实现:原则授权(Policy-based authorization)。
所谓的原则授权就是自定义一种Policy,只要满足 Policy 定义的条件就能得到授权,不论条件是登录者是哪个 User、必须有某个Role、某个Claim、还是同时有Role 跟Claim等等。
一开始可能很难懂,笔者也是花了一段时间才理解,Claim 对应的是一组信息如new Claim("Age", "18"),policy 则相当于规定如某间酒吧规定使用者的年龄必须大于 18 岁才能进入,之前说过 Role 就是类型为 Role 的 Claim,所以也是一样的道理。
而在ASP.NET Core 定义 Policy 也不难,只要在Program.cs定义即可,下方的程序定义了一个 Policy 名为"IsAdmin",这个 Policy 指定需要有"ManageRole"这个 Claim 才能通过授权。
builder.Services.AddAuthorization(options =>
{
	options.AddPolicy("IsAdmin", policy => { policy.RequireClaim("ManageRole"); });
});
在套用先前进入 User 编辑 Claim 的页面,让目前登录者test@gmail.com持有所有 Claim,否则套用后就看不到这些页面了。另外也编辑user@gmail.com不过不勾选任何 Claim 直接储存,方便待会测试。
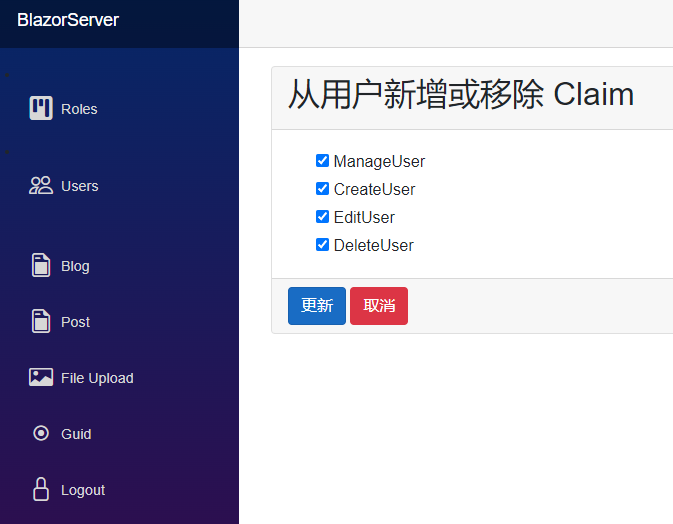
在应用上也跟 Role 一样,在[AuthorzieAttribute]后面放入 Policy 这个参数即可,以UserManagement.razor为例。
@page "/UserManagement/UserList" @attribute [Authorize(Policy = "IsAdmin")] …
NavMenu.razor也产生一个新的<AuthorizeView> Component,变量套用 Policy。
<AuthorizeView Policy="IsAdmin">
  <Authorized>
    <li class="nav-item px-3">
      <NavLink
        class="nav-link"
        href="UserManagement/UserList"
        Match="NavLinkMatch.All"
      >
        <span class="bi bi-people h4 p-2 mb-0" aria-hidden="true"></span> Users
      </NavLink>
    </li>
  </Authorized>
</AuthorizeView>
但这时若以user@gmail.com登录,却可以看到 User 管理页面,明明ManageUser的值为 false,这是因为 Policy "IsAdmin" 只有要求"ManageRole"这个 ClaimType,通常系統不会这样授权,而是会同时对比 ClaimType 跟 ClaimValue,所以把 Policy "IsAdmin" 改完善一點,指定 "IsAdmin" 的 ClaimValue 必須为 "true",这样就完成了简易的 Policy 授权了。


另外要注意的是 ASP.NET Core 对 ClaimType 的处理是不分大小写,但对 ClaimValue 却是大小写分明,以 Policy "IsAdmin"为例,ClaimType 可以是"manageUser"或是"manageuser",ClaimValue 則必須为 "true"。
引用:
- Policy-based Authorization in ASP.NET Core – A Deep Dive
- Claim type and claim value in claims policy based authorization in asp net core
- Simple authorization in ASP.NET Core
注:本文代码通过 .NET 6 + Visual Studio 2022 重构,可点击原文链接与重构后代码比较学习,谢谢阅读,支持原作者