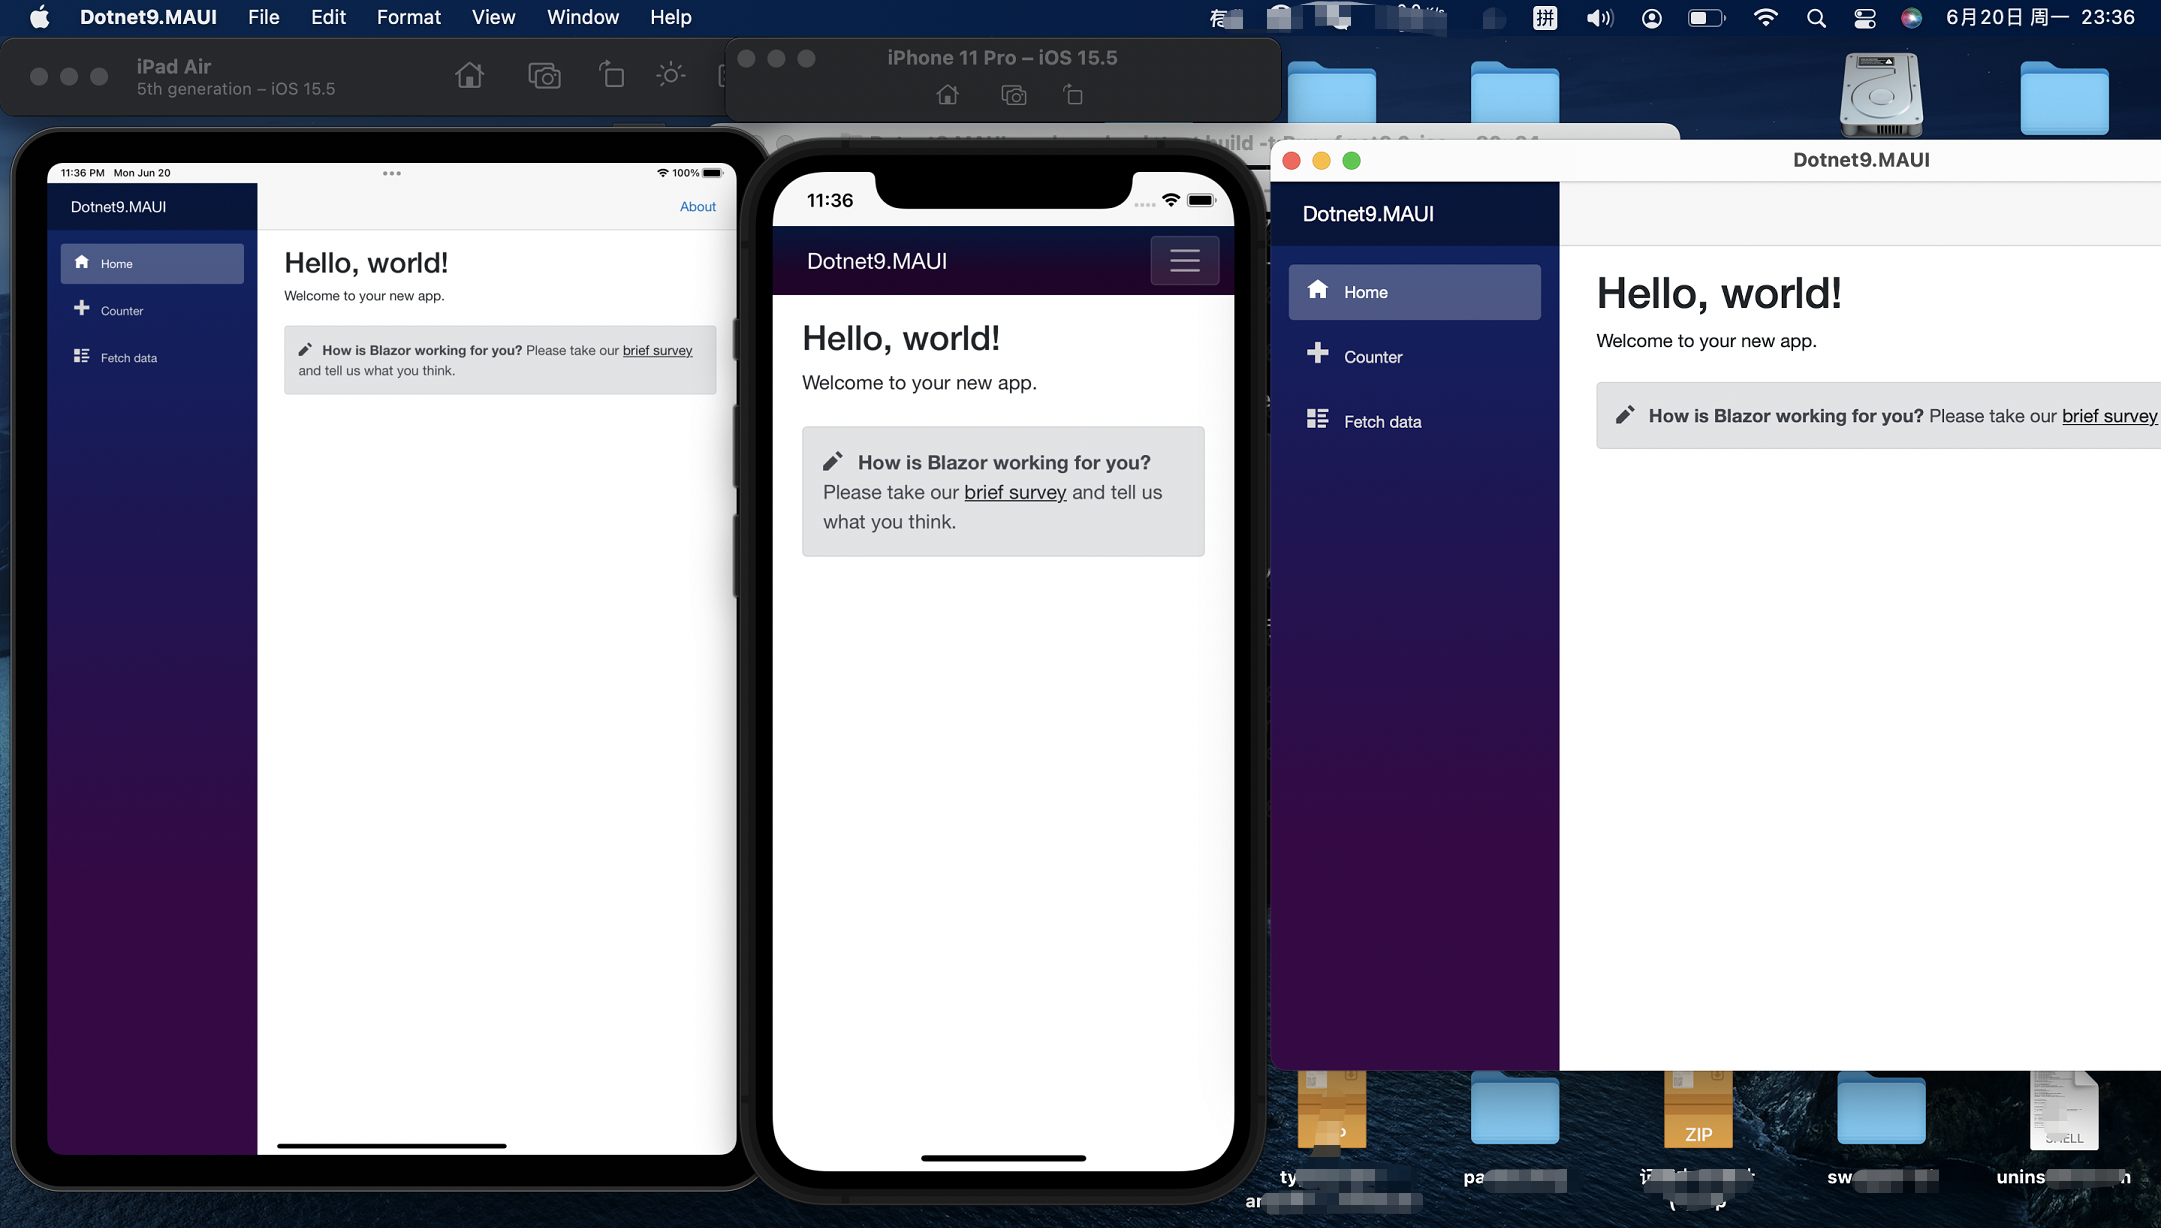
In the previous article (click to read), we implemented UI sharing between Web (Blazor Server/Wasm) and Client (Windows/macOS/Android/iOS). In this article, I will add the Masa Blazor component library and include the timestamp conversion tool I wrote a few months ago.
1. Prerequisites
For more about Masa Blazor, please visit Masa Blazor official website:
MASA Blazor
Provides a standard set of base components based on Material Design and BlazorComponent's interaction capabilities. It offers preset components for standard scenarios such as layout, modal dialogs, Loading, and global exception handling.
2. Adding the Component Library
The component library is added by referring to Masa official website. Below are the addition records for the Dotnet9 backend:
2.1 Modifications to the UI Shared Library - Dotnet9.WebApp
- Add the
Masa.Blazorpackage to the UI shared libraryDotnet9.WebApp. As of today (the 21st), Masa released version0.5.0-preview.3, which we will download:
Install-Package Masa.Blazor -Version 0.5.0-preview.3

- Encapsulate the
Masa.Blazorcomponent reference
Add file ./MasaExtensions/MasaSetup.cs with the following code:
using Microsoft.Extensions.DependencyInjection;

namespace Dotnet9.WebApp.MasaExtensions;

public static class MasaSetup
{
    public static void AddMasaSetup(this IServiceCollection services)
    {
        if (services == null) throw new ArgumentNullException(nameof(services));

        services.AddMasaBlazor();   // This is the key line
    }
}
The key code is only one line: services.AddMasaBlazor();. The extension class is added for extensibility and ease of use by other projects.
- Add the
Masa.Blazornamespace in_Imports.razor
@using Masa.Blazor
That's all for the modifications to Dotnet9.WebApp.
2.2 Modifications to the Cross-platform Project - Dotnet9.MAUI
- Modify
MauiProgram.csto add the encapsulated extension methodAddMasaSetup():
using Dotnet9.WebApp.MasaExtensions;    // Line 1: Add this namespace

namespace Dotnet9.MAUI;

public static class MauiProgram
{
    public static MauiApp CreateMauiApp()
    {
        var builder = MauiApp.CreateBuilder();
        builder
            .UseMauiApp<App>()
            .ConfigureFonts(fonts => { fonts.AddFont("OpenSans-Regular.ttf", "OpenSansRegular"); });

        builder.Services.AddMauiBlazorWebView();
#if DEBUG
        builder.Services.AddBlazorWebViewDeveloperTools();
#endif
        builder.Services.AddMasaSetup();    // Line 2: Add extension method to introduce Masa Blazor

        return builder.Build();
    }
}
- Add
Masa.Blazorresource files
Modify wwwwroot/index.html to add the following styles (directly copy the resource files used by Masa.Blazor for Blazor WebAssembly):
<link href="_content/Masa.Blazor/css/masa-blazor.css" rel="stylesheet" />
<link href="_content/Masa.Blazor/css/masa-extend-blazor.css" rel="stylesheet" />

<link
  href="https://cdn.masastack.com/npm/@mdi/font@5.x/css/materialdesignicons.min.css"
  rel="stylesheet"
/>
<link
  href="https://cdn.masastack.com/npm/materialicons/materialicons.css"
  rel="stylesheet"
/>
<link
  href="https://cdn.masastack.com/npm/fontawesome/v5.0.13/css/all.css"
  rel="stylesheet"
/>

<script src="_content/BlazorComponent/js/blazor-component.js"></script>
2.3 Modifications to the Blazor WebAssembly Project - Dotnet9.Wasm
- Modify
Program.csto add the encapsulated extension methodAddMasaSetup():
using Dotnet9.WebApp;
using Dotnet9.WebApp.MasaExtensions;        // Line 1: Add this namespace
using Microsoft.AspNetCore.Components.Web;
using Microsoft.AspNetCore.Components.WebAssembly.Hosting;

var builder = WebAssemblyHostBuilder.CreateDefault(args);
builder.RootComponents.Add<Main>("#app");
builder.RootComponents.Add<HeadOutlet>("head::after");

builder.Services.AddMasaSetup();            // Line 2: Add extension method to introduce Masa Blazor
builder.Services.AddScoped(sp => new HttpClient { BaseAddress = new Uri(builder.HostEnvironment.BaseAddress) });

await builder.Build().RunAsync();
- Add
Masa.Blazorresource files
Same as Dotnet9.MAUI.
2.4 Modifications to the Blazor Server Project - Dotnet9.Server
- Modify
Program.csto add the encapsulated extension methodAddMasaSetup():
using Dotnet9.WebApp.MasaExtensions;        // Line 1: Add this namespace

var builder = WebApplication.CreateBuilder(args);

// Add services to the container.
builder.Services.AddRazorPages();
builder.Services.AddServerSideBlazor();
builder.Services.AddMasaSetup();            // Line 2: Add extension method to introduce Masa Blazor

var app = builder.Build();

// Configure the HTTP request pipeline.
if (!app.Environment.IsDevelopment())
{
    app.UseExceptionHandler("/Error");
    // The default HSTS value is 30 days. You may want to change this for production scenarios, see https://aka.ms/aspnetcore-hsts.
    app.UseHsts();
}

app.UseHttpsRedirection();

app.UseStaticFiles();

app.UseRouting();

app.MapBlazorHub();
app.MapFallbackToPage("/_Host");

app.Run();
- Add
Masa.Blazorresource files
Modify Pages/_Layout.cshtml to add the following styles (copy the resource files used by Masa.Blazor for Blazor Server):
<!-- masa blazor css style -->
<link href="_content/Masa.Blazor/css/masa-blazor.css" rel="stylesheet" />
<link href="_content/Masa.Blazor/css/masa-extend-blazor.css" rel="stylesheet" />

<!--icon file,import need to use-->
<link
href="https://cdn.masastack.com/npm/@("@mdi")/font@5.x/css/materialdesignicons.min.css"
rel="stylesheet">
<link
  href="https://cdn.masastack.com/npm/materialicons/materialicons.css"
  rel="stylesheet"
/>
<link
  href="https://cdn.masastack.com/npm/fontawesome/v5.0.13/css/all.css"
  rel="stylesheet"
/>

<!--js(should lay the end of file)-->
<script src="_content/BlazorComponent/js/blazor-component.js"></script>
Note: The code for adding Masa Blazor resource files is the same for MAUI Blazor and Blazor WebAssembly. The main difference for Blazor Server is the materialdesignicons.min.css file:

That concludes the introduction to adding Masa.Blazor. To summarize the three key steps:
- Add the
Masa.BlazorNuGet package:Install-Package Masa.Blazor; - Register the
Masa.Blazorcomponent:services.AddMasaBlazor();; - Add
Masa.Blazorresource files: for Wasm it'swwwwroot/index.html, for Blazor Server it's_Layout.cshtml– note the difference.
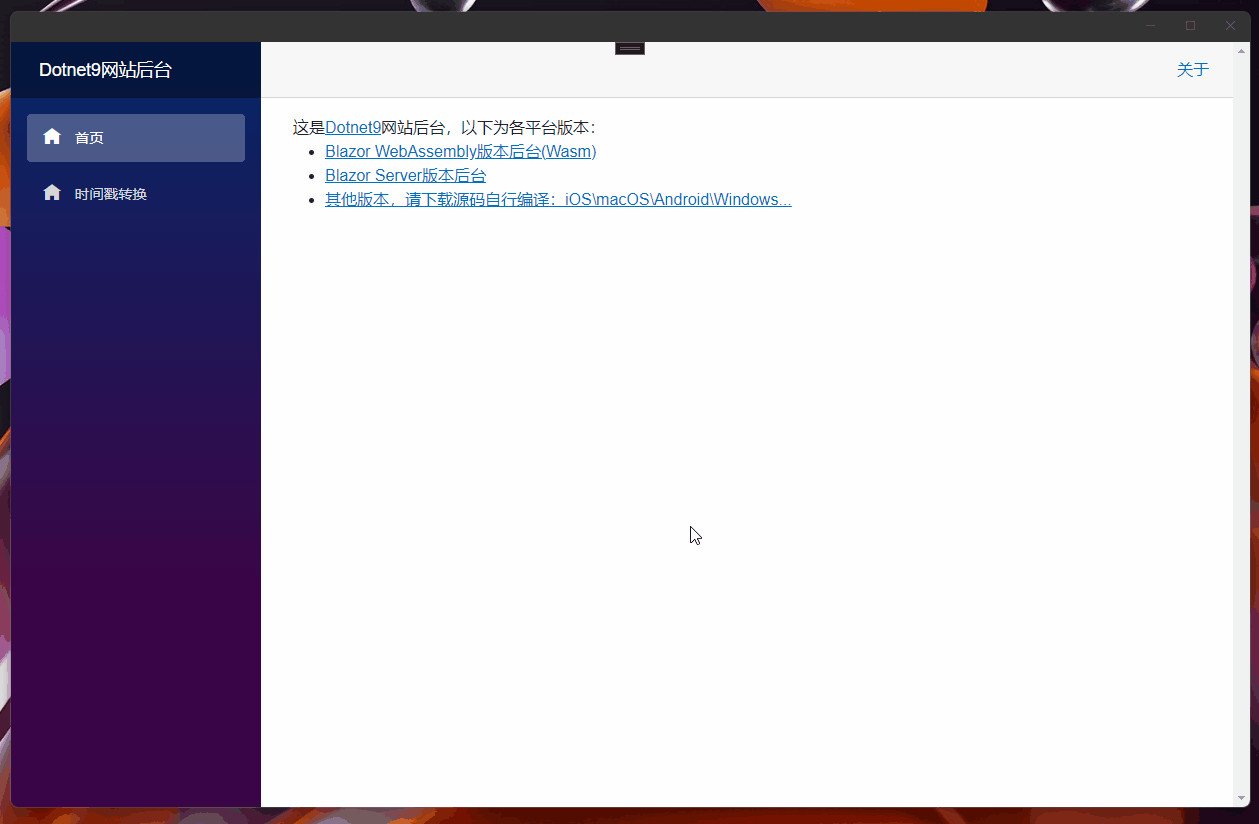
3. Adding the Timestamp Functionality
When building the Blazor Server version of the site, I had previously introduced the timestamp functionality (click to read). The code is very simple, so I won't go into detail here – no need to pad the content.
4. Summary
The Masa.Blazor component library has been added, and the timestamp functionality has been restored. The next step is to continue building the website backend using Masa.Blazor.
- Preview of the Blazor Server site in this article: https://server.dotnet9.com/
- Preview of the Blazor Wasm site in this article: https://wasm.dotnet9.com/
- Preview of MAUI (Android/Windows/macOS/iOS): https://github.com/dotnet9/Dotnet9/tree/develop/src/Dotnet9.MAUI (no release package; you need to compile from source)